Installing a car seat shouldn’t feel like decoding ancient hieroglyphs. Yet so many parents sit in their driveway sweating through the process, wondering if the seat is actually secure or just looks secure. I’ve been there—and that’s exactly why this guide exists. If you’re looking for how to install Evenflo 360 car seat and want straightforward steps, expert-level clarity, and real-world practicality, you’re in the right place. Let’s walk through the entire process together, piece by piece, so installation becomes something you can confidently master.
Introduction
The Evenflo 360 is a game-changer for families who want easier loading, smoother transitions, and fewer awkward twists while buckling their child in. It rotates. It clicks. And it simplifies the everyday chaos of car seat routines. But even with an innovative design, proper installation still determines how safe the seat will be.
And yes, before you start, you should absolutely keep the user manual and your vehicle manual nearby. They’re your blueprint. Consider this article your field guide—the one that makes everything crystal clear and helps you avoid the mistakes almost everyone makes on the first attempt.
What Makes the Evenflo 360 Different?
The Evenflo 360 isn’t just another convertible seat. It’s one of the few models that gives you a full rotation feature without compromising stability. This matters during installation because the interface between the seat and the base is designed with precision. When the base is solid, the rotation becomes reliably smooth.
Here’s what sets it apart:
- 360° Rotation: Load your child from the door side, rotate into position, and lock into place.
- Base-First Installation: Unlike standard convertible seats where the shell is installed directly, the Evenflo 360 relies on a firmly secured base.
- Multiple Modes: Rear-facing, forward-facing, extended rear-facing—this seat grows with your child.
Understanding these differences upfront makes learning how to install Evenflo 360 car seat far easier.
Pre-Installation Checklist
Before you touch anything, let’s make sure you’re set up for success.
What You Need
- The Evenflo 360 base
- The seat shell
- Your vehicle owner’s manual
- A towel or pool noodle (only if you need additional recline support)
Vehicle Prep
Clear the area. Remove bulky mats. Push front seats forward if possible. A clean space makes everything easier.
What Should Be in the Box
Use this table to verify you have what you need:
| Item | Purpose |
| Base | Core structure that holds the rotation system |
| Seat shell | The part your child sits in |
| Tether strap | Required for forward-facing installs |
| User manual | Essential reference |
| LATCH connectors | For base installation in compatible seating positions |
If everything’s accounted for, you’re ready for the next step.
Choosing the Right Seating Position
You can install the Evenflo 360 in several rear-seat locations, but some are better than others.
Things to Consider
- Safety Position: The center seat is statistically the safest if your car supports installation there.
- Compatibility: Some vehicles prohibit LATCH installation in the center.
- Space: The seat rotates, so make sure the chosen position gives it enough clearance.
Rear-facing is always preferred for as long as your child meets the height and weight requirements. And since this seat excels at extended rear-facing, you’ll want a spot with enough legroom to accommodate that.
Understanding the Base Structure
Before attaching anything, familiarize yourself with the base. This saves time and prevents frustration.
Key components include:
- Recline Adjuster: Sets the angle depending on your child’s age and vehicle slope.
- LATCH Connectors or Belt Path: Where the installation begins.
- Tensioning Mechanism: Some models include the LockStrong™ arm—this clamps down to tighten the installation.
- Rotation Interface: Where the seat shell clicks into place.
When researching how to install Evenflo 360 car seat, many parents skip this part. Don’t. Knowing your base is half the battle.
Installation Method #1: Using LATCH (Rear-Facing Mode)
If your vehicle supports LATCH in your chosen position and your child is below the LATCH weight limit, this method is simple and highly secure.
A. Step-by-Step Installation
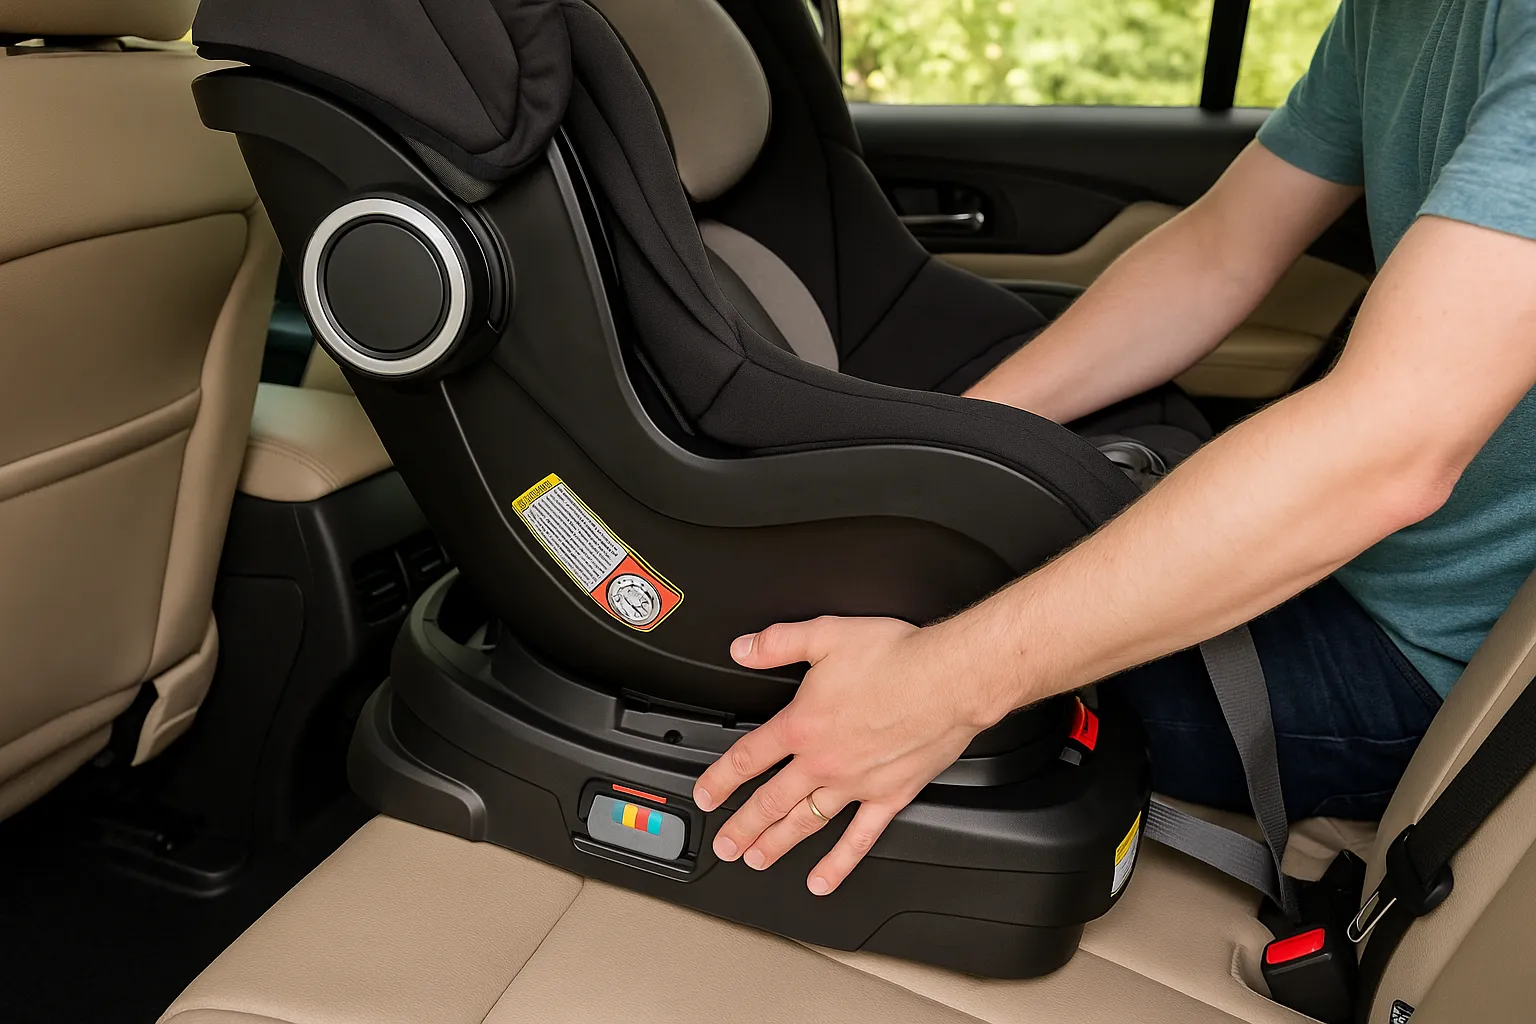
- Set the Recline Angle
Use the recline indicator on the base. Younger babies need a more reclined position; toddlers need a more upright orientation. - Attach LATCH Connectors
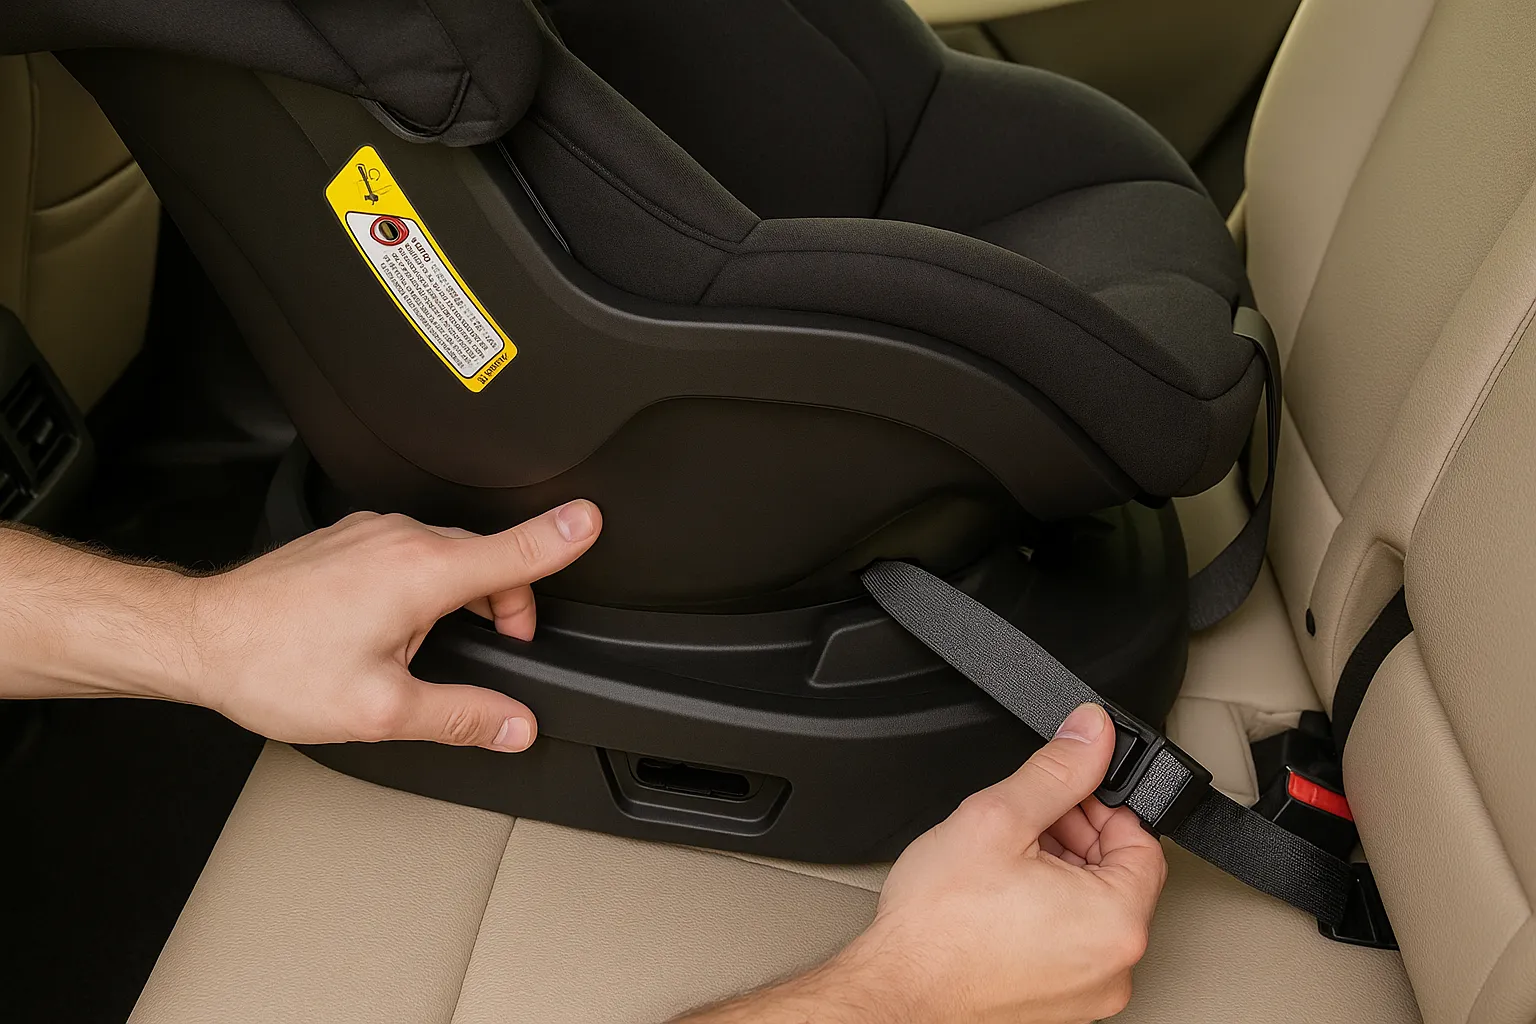
Locate the anchors in the vehicle seat. Clip each connector onto its anchor with a clean, audible click. - Tighten the Straps
Pull the adjustment strap straight upward. Don’t yank sideways—this reduces tightening efficiency. - Engage the LockStrong™ Arm (if included)
Press it down firmly. This adds tension and stabilizes the base. - Check for Movement
Grab the base near the belt path and push/pull. You’re looking for less than 1 inch of movement in any direction. - Test Rotation
Snap the seat on and rotate it. If anything catches or feels stiff, recheck your base alignment.
B. Common Mistakes to Avoid
- Leaving slack in the LATCH strap
- Ignoring the recline indicator
- Testing movement at the wrong point (always at the belt path)
If you follow these steps, you’re well on your way to mastering how to install Evenflo 360 car seat using LATCH.
Installation Method #2: Using the Vehicle Seatbelt (Rear-Facing Mode)
If LATCH isn’t available—or if your child’s weight exceeds your vehicle’s LATCH limits—the seatbelt method is your go-to.
A. Step-by-Step Installation
- Thread the Seatbelt Through the Correct Belt Path
Use the rear-facing path. It’s clearly marked on the base. - Buckle the Seatbelt
Keep the belt flat and untwisted. - Lock the Seatbelt
Pull the seatbelt out fully until it clicks, then slowly retract to activate the locking mode. - Engage the Base’s Tensioning Feature
If your model has a tensioner, push it down to secure the belt. - Check Stability
Again, you want less than 1 inch of movement. - Confirm Rotation
A properly installed base should allow smooth rotation without scraping or dragging.
B. When to Choose Seatbelt Installation
- Your vehicle doesn’t support center-seat LATCH
- Your child approaches LATCH weight limits
- You want a universally compatible installation method
Many parents find this method surprisingly secure and straightforward once they understand how to install Evenflo 360 car seat using a seatbelt.
Moving to Forward-Facing Mode
At some point, your child will outgrow the rear-facing settings. Forward-facing begins when they meet the minimum age, height, and weight requirements—and not a moment sooner.
What You Need to Adjust
- Recline angle
- Headrest height
- Top tether usage
Forward-facing installation requires more precision due to increased forward movement during braking scenarios.
Forward-Facing Installation (LATCH or Seatbelt)
Let’s break down both methods.
A. Forward-Facing Installation Using LATCH
- Position the seat upright in the forward-facing recline setting.
- Attach LATCH connectors to your vehicle’s anchors.
- Tighten the straps until the base is secure.
- Attach the top tether and pull until snug.
- Perform the 1-inch movement test.
B. Forward-Facing Installation Using Seatbelt
- Route the seatbelt through the forward-facing belt path.
- Buckle the belt and lock the retractor.
- Tighten and remove all slack.
- Attach the top tether and tension it properly.
C. Final Safety Checks
- Ensure rotation is still unobstructed.
- Confirm proper headrest and harness height.
- Double-check the recline position matches Evenflo’s forward-facing guidelines.
Knowing how to install Evenflo 360 car seat in both modes makes future transitions painless.
Installing the Seat Shell onto the Base
Once the base is secure, the rest feels incredibly satisfying.
Here’s how to click everything into place:
- Align the seat with the rotation hub.
- Press downward until you hear a clear click.
- Rotate the seat fully to confirm smooth movement.
- Lock the seat into its travel position.
If you hear rattling, recheck your connection.
Harness Setup & Fit After Installation
A perfect installation doesn’t matter if the harness fit is incorrect. Let’s dial it in:
Harness Checklist
- Rear-facing: Straps should sit at or below the shoulders.
- Forward-facing: Straps should sit at or above the shoulders.
- Chest clip: Level with the armpits.
- Harness tightness: You shouldn’t be able to pinch any slack at the shoulders.
The Evenflo 360’s adjustable headrest and no-rethread harness make this easier than most convertible seats on the market.
Troubleshooting Installation Issues
Let’s fix some common headaches:
Base still feels loose
- Ensure you’re applying pressure straight down while tightening.
- Re-thread the belt or LATCH strap—it may be snagged.
Seat doesn’t rotate smoothly
- Check for seatbelt or LATCH strap interference.
- Ensure the base isn’t pressed against the vehicle seat back.
Seatbelt won’t lock
- Your vehicle may require a locking clip.
- Check the manual for belt type.
Parents often circle back to how to install Evenflo 360 car seat because small details can affect the rotation and stability. Troubleshooting usually clears it up quickly.
Safety Tips & Expert Recommendations
A secure installation is only the beginning. Keep these practices in mind:
- Inspect the seat’s tightness every 2–3 weeks.
- Avoid bulky coats—opt for thin layers.
- Register your seat for recall alerts.
- Seek help from a certified CPST if you want professional validation.
Evenflo designed the 360 to make life easier, but your attention keeps it safe.
FAQs About Installing an Evenflo 360 Car Seat
Usually 10–15 minutes once you understand the steps.
Yes, but some positions will have limited clearance depending on the vehicle.
No. Choose one installation method.
Yes, until your child meets the minimum forward-facing requirements.
No. Airbags make this unsafe.
Most, but not all. Check your vehicle manual for compatibility.
Conclusion
Learning how to install Evenflo 360 car seat gives you something priceless—confidence. This seat is engineered to make everyday life smoother, but the installation is where freedom starts. Once you get the base tight, the recline correct, and the rotation working seamlessly, everything begins to fall into place.
You’ll load your child in with ease. You’ll feel secure every time you hit the road. And most importantly, you’ll know that your installation is safe, stable, and aligned with Evenflo’s tested standards.