
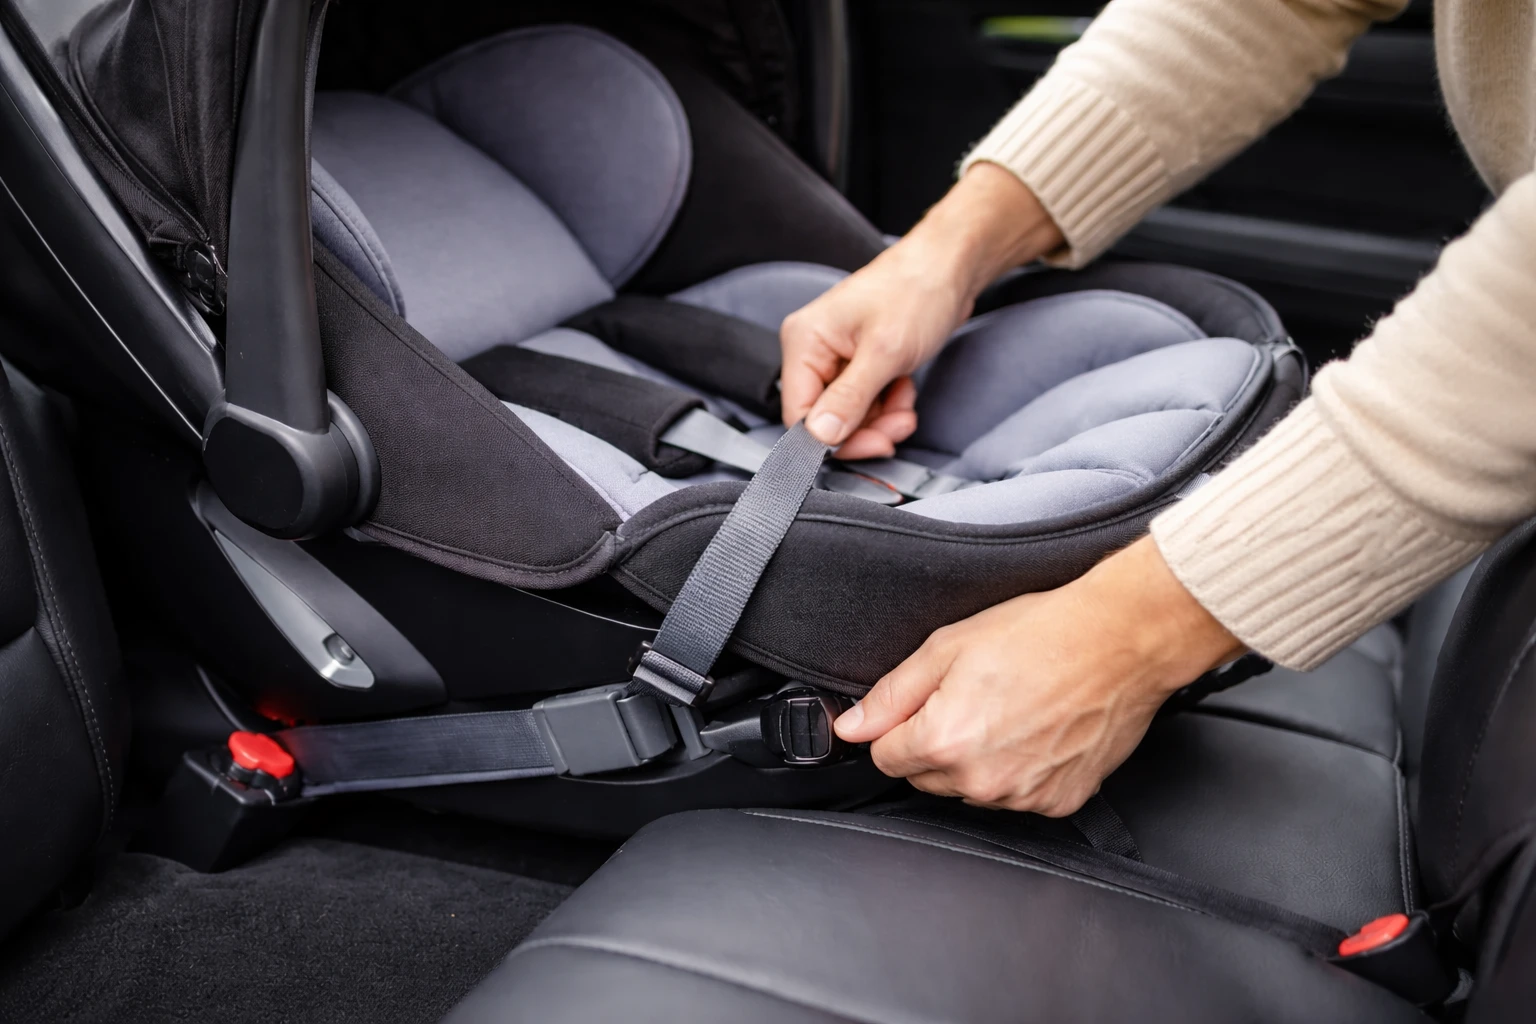
Installing a car seat shouldn’t feel like solving a puzzle but for many parents, it does. I’ve been there. You tug, adjust, press down, and still wonder… is this actually safe? That’s exactly why understanding tips for installing car seats using LATCH system correctly matters so much. When done right, it’s simple, secure, and incredibly effective. When done wrong, even small mistakes can compromise safety. This guide cuts through the confusion. No fluff. Just clear, actionable advice you can actually use.
What Is the LATCH System?
The LATCH system short for Lower Anchors and Tethers for Children was designed to make car seat installation easier and more consistent across vehicles. Instead of relying on seat belts, you attach the car seat directly to built-in anchors in your vehicle. Simple in theory. But details matter.
The Three Key Components:
- Lower anchors: Metal bars hidden in the seat crease
- Top tether anchor: A connection point behind or above the seat
- Connectors: Clips attached to your car seat
Together, they create a solid connection between the seat and your vehicle frame. That’s the goal. Stability.
Why Proper Installation Using LATCH Matters
Let’s be direct. A poorly installed car seat can move too much during a crash. That movement increases risk. A correctly installed seat? It stays in place. It absorbs force. It protects.
For additional official safety guidance, the U.S. government provides detailed recommendations through the National Highway Traffic Safety Administration:
Here’s what proper LATCH installation does:
- Reduces forward movement in a crash
- Keeps the seat aligned with impact forces
- Prevents dangerous rotation
This is why learning tips for installing car seats using LATCH system correctly is not optional it’s essential.
Before You Start: Preparation Checklist
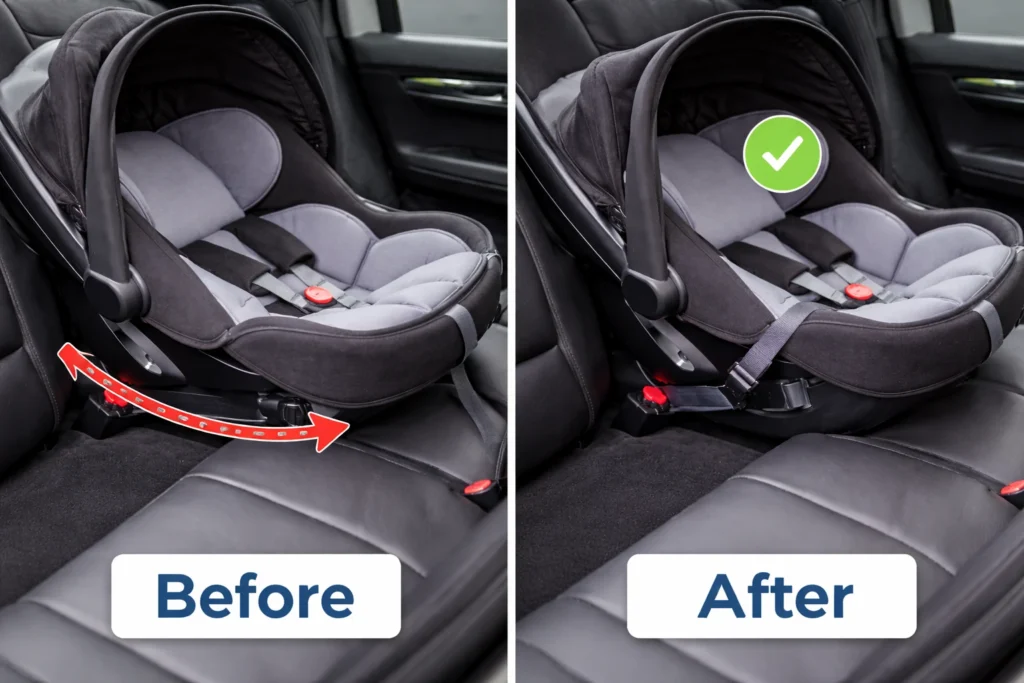
Don’t rush into installation. Take five minutes upfront and you’ll save yourself frustration later.
Quick Checklist:
- Read both manuals (yes, both)
- Locate your vehicle’s LATCH anchors
- Confirm your car seat isn’t expired
- Choose the correct seating position
- Check weight limits for LATCH use
That’s your foundation. Skip this, and everything else becomes harder.
Types of Car Seats and LATCH Compatibility
Not all seats behave the same way. Understanding your seat type helps you apply the right tips for installing car seats using LATCH system correctly.
Infant Car Seats
- Always rear-facing
- Typically easiest to install with LATCH
- Often come with a base
Convertible Car Seats
- Can be rear- or forward-facing
- Heavier, so weight limits matter more
Booster Seats
- Some use LATCH for stability only
- Seat belt still secures the child
Step-by-Step Guide to Installing a Car Seat Using LATCH
This is where it all comes together. Follow this sequence exactly.
Step 1 – Position the Car Seat
Place the seat in your chosen location. Rear-facing for infants. Forward-facing for older kids. Flat. Centered. No tilting.
Step 2 – Locate Lower Anchors
Run your hand along the seat crease. You’ll feel them. Sometimes they’re marked with small icons. Sometimes not. Trust your hands.
Step 3 – Attach the Lower Anchor Connectors
Clip each connector onto the anchor. You should hear a click. Not a soft one. A firm, confident click. Give it a quick tug. If it slips, it’s not attached correctly.
Step 4 – Tighten the Installation
Here’s where most people go wrong. Use your body weight. Press down into the seat knee or forearm works well while pulling the strap tight. Don’t just pull. Press and pull.
Step 5 – Attach and Tighten the Top Tether (Forward-Facing Only)
This step is often skipped. It shouldn’t be. The top tether reduces forward movement in a crash. That’s huge. Hook it. Tighten it. Check it.
Step 6 – Test for Tightness
This is your final check. Grab the seat at the belt path. Try to move it side-to-side and front-to-back.
It should not move more than one inch.
If it does? Tighten again. These tips for installing car seats using LATCH system correctly come down to one thing: zero guesswork.
Common Mistakes to Avoid
Even careful parents make these. I’ve seen it firsthand.
Watch out for:
- Loose straps (the #1 issue)
- Using both LATCH and seat belt (unless allowed)
- Ignoring weight limits
- Skipping the top tether
- Twisted straps
Each one seems small. Combined, they’re not.
Pro Tips for Installing Car Seats Using LATCH System Correctly
Let’s level up. These are the details that make a good install great.
Practical Tips:
- Use your full weight: Kneel into the seat while tightening
- Check recline angle: Especially for rear-facing seats
- Recheck after a few days: Straps can settle
- Install slowly: Speed leads to mistakes
- Practice once without pressure: Confidence matters
Interestingly, the concept of precision and correct positioning even in unrelated fields like Ergodicity highlights how small variations can significantly impact outcomes. The same principle applies here: small installation errors can lead to big safety differences. These are the real-world tips for installing car seats using LATCH system correctly that experienced parents swear by.
LATCH System Weight Limits Explaine
This part gets overlooked. It shouldn’t.
LATCH isn’t designed for unlimited weight.
General Rule:
- Combined weight of child + seat usually maxes out around 65 lbs (varies by manufacturer)
Once you exceed that, switch to seat belt installation.
Quick Reference Table:
| Component | Typical Limit |
| Lower anchors | Up to 65 lbs combined |
| Top tether | Often higher limit |
| Seat belt method | No combined limit |
Always check your manuals. Always.
When NOT to Use the LATCH System
Yes, there are times when LATCH isn’t the right choice.
Avoid LATCH if:
- You exceed weight limits
- The seating position doesn’t support it
- Your car seat manual advises against it
In those cases, a properly installed seat belt setup is just as safe.
LATCH vs. Seat Belt Installation

This is a common question. Which is better? The truth? Both are safe when used correctly.
Comparison:
| Feature | LATCH System | Seat Belt |
| Ease of use | Easier for most | Slight learning curve |
| Weight limits | Yes | No |
| Availability | Limited positions | All seats |
The key is not which you choose but how well you install it.
How to Check If Your Installation Is Safe
You don’t need fancy tools. Just a few simple checks.
Safety Checklist:
- Less than 1 inch movement
- Correct recline angle
- Tether attached (if forward-facing)
- Straps flat, not twisted
If you want extra peace of mind, consider having it inspected by a certified technician.
Maintenance and Reinstallation Tips
Installation isn’t a one-time task.
Seats get moved. Kids grow. Adjustments happen.
Keep it safe by:
- Rechecking monthly
- Inspecting after long trips
- Cleaning without soaking straps
- Reinstalling carefully after removal
Consistency is part of mastering tips for installing car seats using LATCH system correctly.
Final Thoughts
Car seat installation isn’t something you “wing.” It’s something you learn and then double-check. Master the basics. Apply the details. Take your time. Because when it’s done right, you won’t just feel better. You’ll know it’s right.
And that peace of mind? That’s everything.
FAQs
The LATCH system uses built-in anchors and tethers to secure a car seat without relying on seat belts.
Both are equally safe when installed correctly; the key is proper installation.
It should not move more than one inch side-to-side or front-to-back at the belt path.
Only if your car seat manufacturer specifically allows it; otherwise, use one method only.
Stop when the combined weight of your child and car seat exceeds the manufacturer’s limit.
Yes, the top tether is essential for reducing forward movement in a crash.
They are typically found in the crease between the seat back and bottom cushion.
Only if your vehicle allows it; not all middle seats have dedicated anchors.
Check it regularly, especially after long trips or if the seat has been moved.
The most common mistake is leaving the straps too loose, which reduces safety.