Installing a car seat shouldn’t feel intimidating. But when you’re figuring out how to install a Graco car seat forward facing, it can suddenly feel high stakes — because it is. The difference between “installed” and “installed correctly” can dramatically affect crash performance. I’ve seen seats that looked secure but shifted inches under pressure. That’s not good enough.
In this guide, I’ll walk you through exactly how to install a Graco car seat forward facing with precision. Clear steps. Real safety checks. No fluff. By the end, you’ll know your seat is secure — not just “good enough,” but right.
When Can a Child Face Forward?
Before installation comes timing. Forward-facing too early reduces protection in a crash. Period.
The American Academy of Pediatrics recommends keeping children rear-facing as long as possible, until they reach the maximum height or weight allowed by their car seat. Many Graco models allow rear-facing up to 40 or even 50 pounds. That’s significant.
Forward-facing is typically allowed once a child:
- Meets the minimum weight requirement (often 22–40 lbs depending on model)
- Meets the minimum age requirement (often at least 2 years old, though older is safer)
- Fits within the forward-facing height limits
Minimum does not mean optimal. If your child still fits rear-facing, that’s usually the safer choice.
Before you install anything, confirm your specific Graco model’s forward-facing limits in the manual. The Graco 4Ever, Extend2Fit, SlimFit — they all have slightly different thresholds.
What You’ll Need Before Installation
Don’t start blindly. Preparation saves time and mistakes.
Here’s what to gather:
- Your Graco car seat
- Your vehicle owner’s manual
- The Graco instruction manual
- Access to your vehicle’s tether anchor
- Knowledge of your vehicle’s LATCH limits
Choosing the Seating Position
Back seat only. Always.
The middle seat is often safest if:
- It has a tether anchor
- You can achieve a tight install
If not, an outboard seat is perfectly acceptable. The best position is the one where you can achieve the most secure installation.
Step-by-Step: How to Install a Graco Car Seat Forward Facing
Now we get into it. This is where precision matters.
Step 1: Set the Seat to Forward-Facing Mode
Graco convertible seats must be physically adjusted to forward-facing configuration.
Check for:
- Recline position adjustment (usually more upright than rear-facing)
- Correct belt path labeled “Forward-Facing”
- Harness straps positioned at or above your child’s shoulders
That last point is critical. In forward-facing mode, the harness must come from at or above shoulder level. Below the shoulders is unsafe.
Adjust the headrest so the harness height aligns properly. Remove any infant inserts that aren’t approved for forward-facing use.
Pause here. Double-check the manual. Don’t guess.
Step 2: Place the Car Seat Correctly on the Vehicle Seat
Position the car seat flush against the vehicle seatback.
It should sit flat. No tilting. No lifted base.
Many Graco models have a recline indicator. Forward-facing seats are generally more upright, but they still must fall within the allowed angle range. If it’s too reclined, crash performance changes. Too upright, and comfort suffers.
Get the angle right first.
Step 3: Choose Your Installation Method — LATCH or Seat Belt
You will use either the lower anchors (LATCH) or the vehicle seat belt. Not both. Unless your Graco manual explicitly allows it — and most do not.
Here’s a simple comparison:
| Installation Method | Pros | Watch-Out |
| LATCH | Simpler for many parents | Has weight limits |
| Seat Belt | No child weight limit | Must lock properly |
Both are equally safe when installed correctly.
Option A: Installing with LATCH
If you’re using LATCH, locate the lower anchors in your vehicle seat crease.
- Attach both lower anchor connectors to the vehicle anchors.
- Make sure they are not twisted.
- Press your knee firmly into the car seat.
- Pull the LATCH strap tight while applying downward pressure.
Use your body weight. I often place a knee directly into the seat while tightening. It makes a difference.
Now check movement at the belt path. The seat should move less than one inch side-to-side or front-to-back.
Finally — and this is non-negotiable — attach the top tether.
We’ll talk more about that in a moment.
Important: LATCH systems have maximum child weight limits (often 40–45 pounds combined weight of child). After that, you must switch to seat belt installation but still use the top tether.
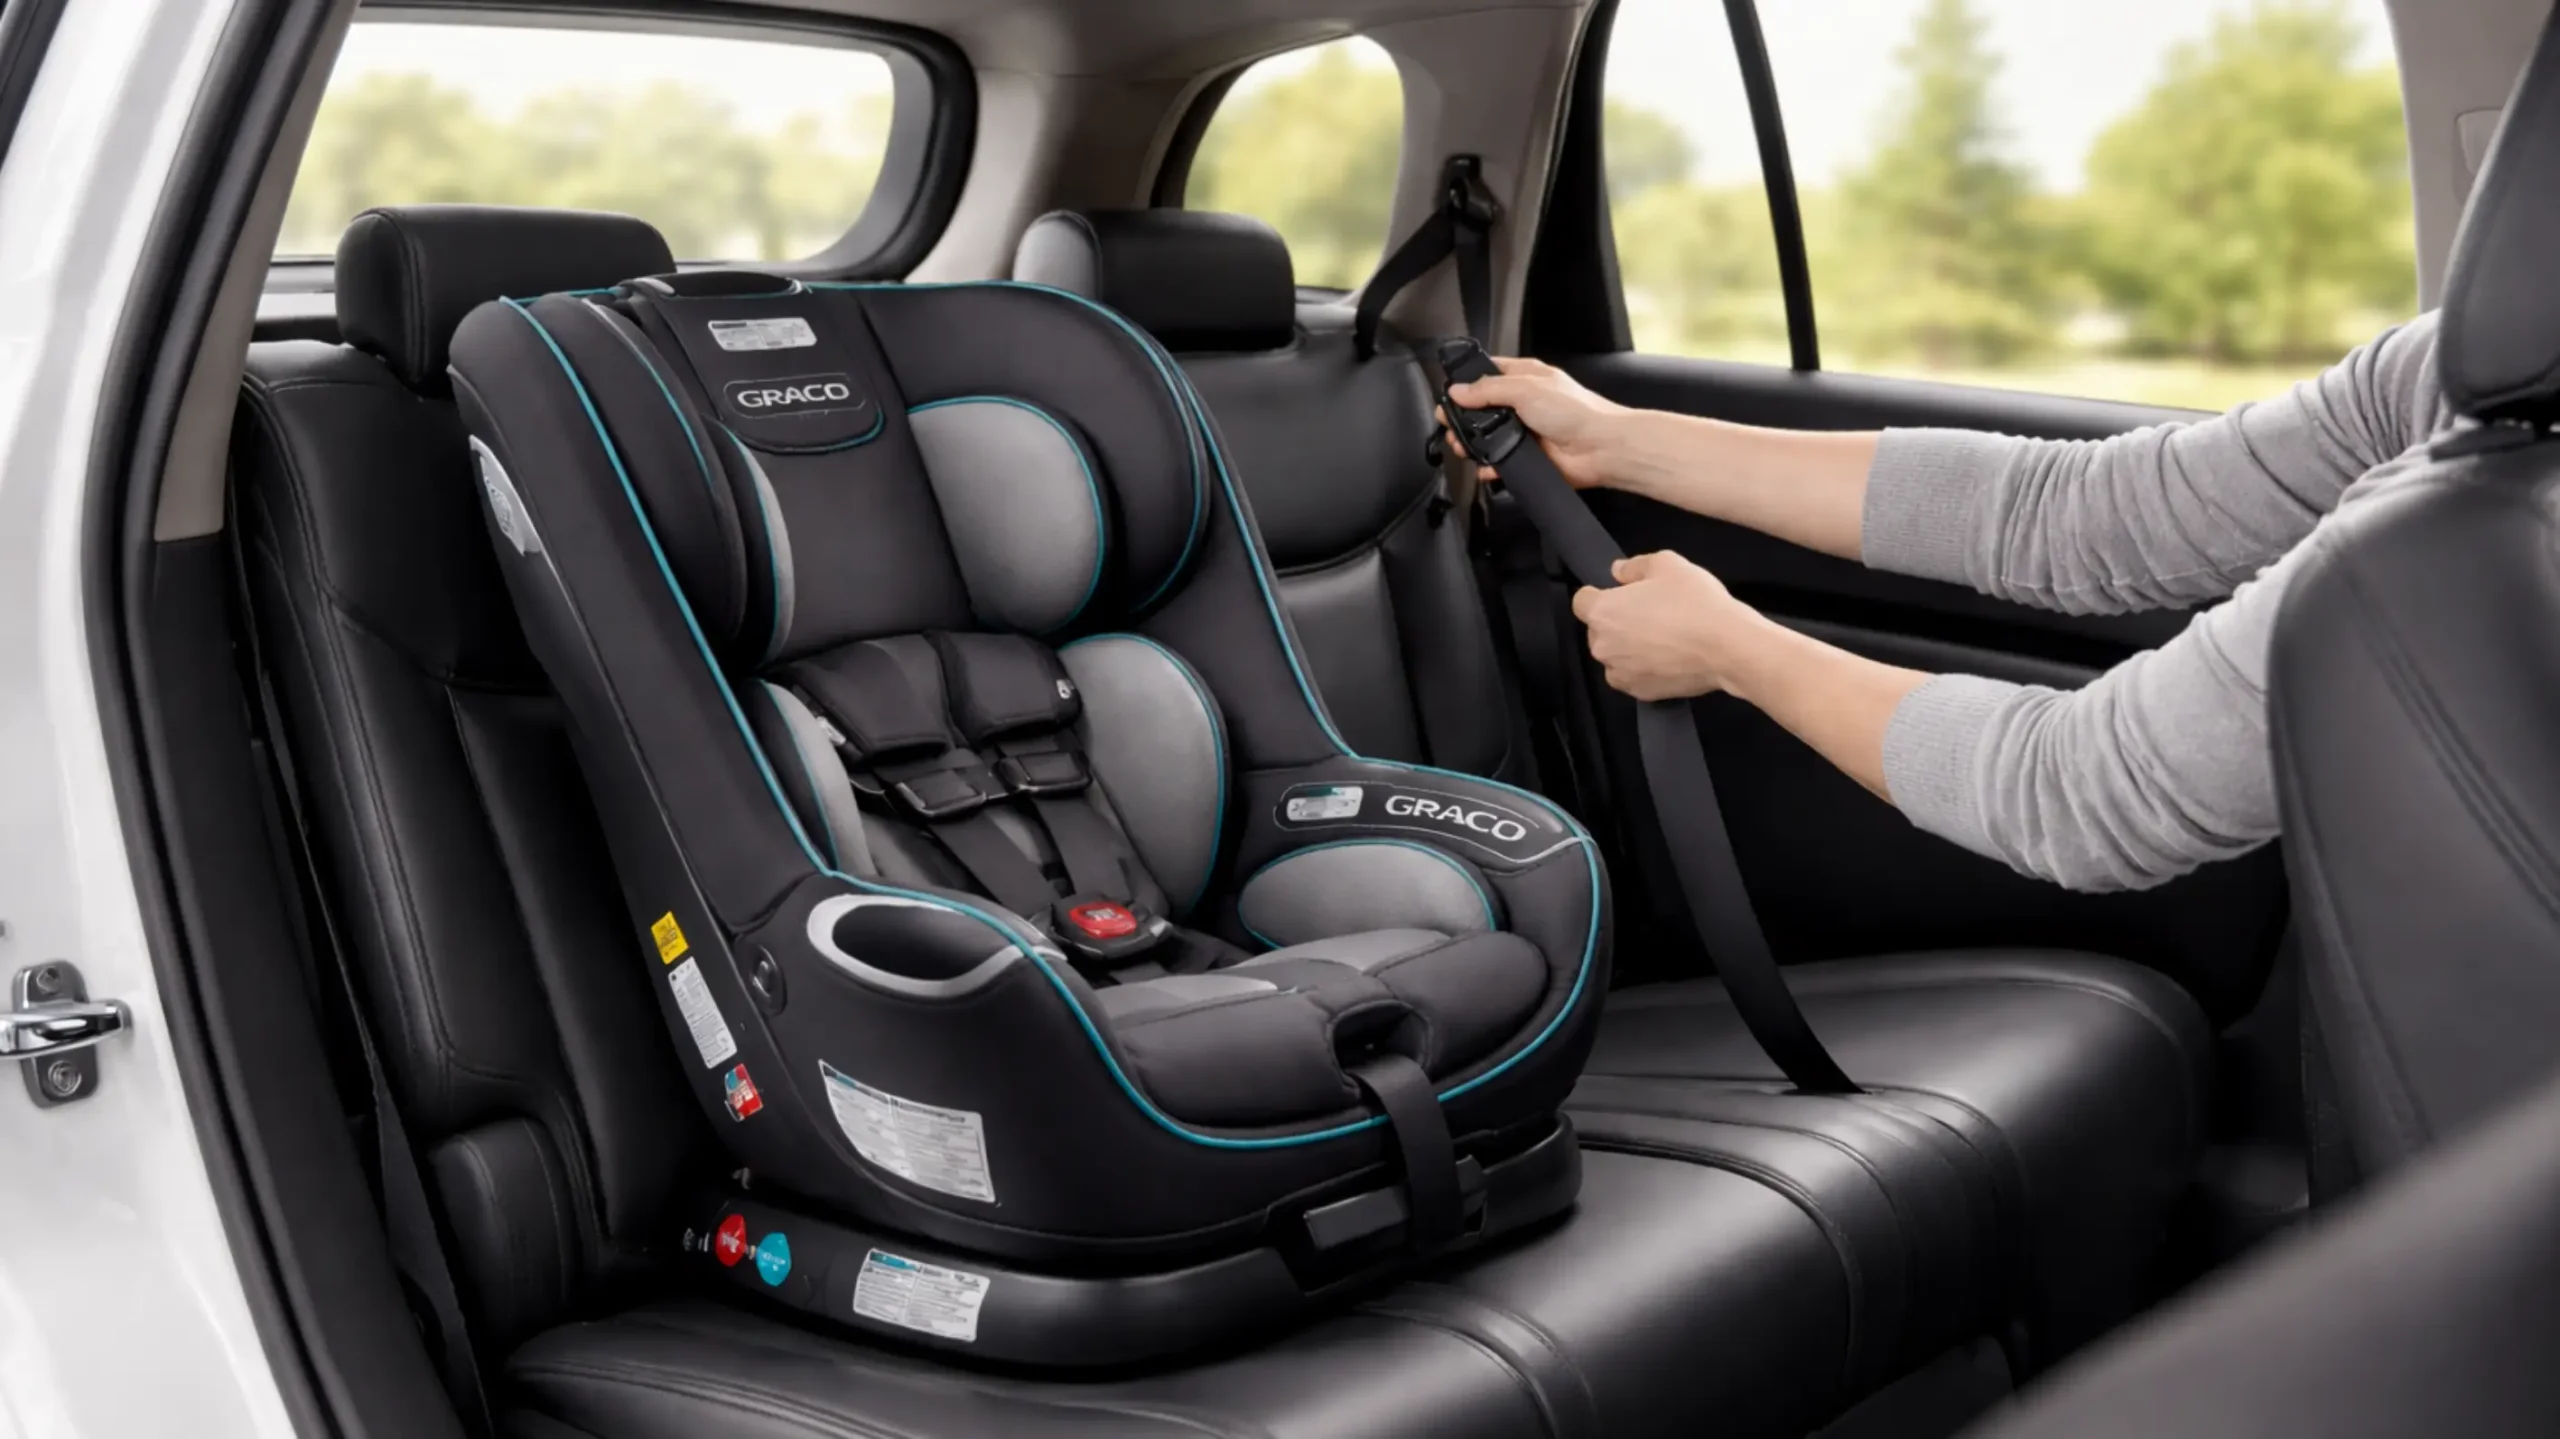
Option B: Installing with the Vehicle Seat Belt
This method is slightly more technical but extremely reliable.
- Thread the seat belt through the forward-facing belt path (clearly labeled on Graco seats).
- Buckle the seat belt.
- Lock the seat belt.
Most vehicles use a switchable retractor. Pull the seat belt all the way out slowly. When it retracts, it should make a clicking sound. That means it’s locked.
Now press down firmly on the seat and pull the shoulder belt tight.
Let the belt retract fully while maintaining pressure.
Again, perform the inch test. Less than one inch of movement at the belt path.
If you’re researching how to install a Graco car seat forward facing, this is where most mistakes happen: the seat belt isn’t actually locked. Double-check.
Step 4: Attach and Tighten the Top Tether
This step dramatically reduces head movement in a crash. It is not optional.
Locate your vehicle’s tether anchor. It may be:
- On the back of the seat
- On the rear shelf
- On the ceiling in SUVs
- On the floor behind the seat
Consult your vehicle manual.
Hook the tether strap to the anchor. Pull it tight until slack is removed.
The tether should be snug but not pulling the seat off the vehicle cushion.
When people ask me how to install a Graco car seat forward facing correctly, I emphasize this: skipping the tether increases head excursion significantly in a crash. Always use it.
Step 5: Test the Installation
Time for the “inch test.”
Grab the car seat at the belt path — not at the top.
Push and pull side to side and front to back.
If it moves more than one inch, tighten again.
Do not judge tightness from the top of the seat. That part is designed to move.
Also confirm:
- Seat angle is correct
- Tether is attached
- Harness height is correct
Now you have a properly installed forward-facing seat.
Securing Your Child Correctly
Installation is only half the equation.
Harness fit matters every ride.
Follow this checklist:
- Harness straps at or above shoulders
- Straps snug enough that you cannot pinch slack at the collarbone (the “pinch test”)
- Chest clip positioned at armpit level
- No bulky coats under the harness
Winter coats compress in a crash. That creates slack. Instead, buckle your child first, then place a blanket over the harness.
Proper harnessing is just as important as knowing how to install a Graco car seat forward facing.
Common Mistakes to Avoid
I see these constantly.
- Skipping the top tether
- Using both LATCH and seat belt together without permission
- Harness below shoulders
- Loose installation
- Incorrect belt path
- Failing to lock the seat belt
- Moving to forward-facing too early
One subtle mistake? Checking tightness at the headrest instead of the belt path. That leads to false confidence.
Another? Assuming LATCH is safer. It’s not safer. It’s just an alternative method.
When installing forward-facing, attention to detail wins.
Notes for Popular Graco Models
While the process of how to install a Graco car seat forward facing is similar across models, small differences exist.
- Graco 4Ever: Multiple recline positions. Ensure correct forward-facing recline setting.
- Graco Extend2Fit: Extension panel must be fully retracted in forward-facing mode.
- Graco SlimFit: Compact design; belt paths are clearly color-coded.
Always confirm model-specific instructions. Never assume.
Final Safety Checklist
Before every drive:
- Seat moves less than 1 inch at belt path
- Top tether attached and tight
- Harness at or above shoulders
- Chest clip at armpit level
- Child within weight and height limits
- Correct belt path used
Quick. Simple. Essential.
Conclusion
Learning how to install a Graco car seat forward facing is not complicated — but it demands precision. Small details matter. A locked seat belt. A tight tether. A properly positioned harness.
Take the extra five minutes. Press firmly when tightening. Double-check your work.
And if you want reassurance, schedule a free car seat inspection with a certified Child Passenger Safety Technician in your area. A second set of trained eyes never hurts.
When installed correctly, a forward-facing Graco car seat provides strong protection and reliable performance. That peace of mind? Worth every careful step.
Install it right. Every time.
Frequently Asked Questions
It should move less than one inch side-to-side or front-to-back at the belt path.
No. The top tether significantly reduces head movement and should always be used in forward-facing mode.
No. Both methods are equally safe when installed correctly according to the manuals.
Pull the seat belt all the way out to switch the retractor into locking mode, then let it retract while tightening.
Switch when your child exceeds the vehicle’s LATCH weight limit, but continue using the top tether.
The harness straps must be at or above your child’s shoulders.
No. Bulky coats create slack; use a blanket over the harness instead.
It’s checking that the seat moves less than one inch at the belt path after installation.
Only if your Graco manual specifically allows it, which most models do not.
Confirm tightness, proper harness position, locked belt or tight LATCH, and attached top tether.