Installing a rotating car seat feels like it should be easier than a standard one. It clicks! It looks like it belongs on a spaceship! And yet… the first time you try it, you may find yourself staring at the belt path like it’s a puzzle designed by a mischievous engineer. I get it. The good news? Once you learn how to install a Revolve360 car seat correctly, it becomes one of the most user-friendly seats you’ll ever use.
This guide is here to make that happen.
No fluff. No vague advice. Just clear steps, real-world tips, and the exact checks that matter. I’ll walk you through rear-facing and forward-facing installation, plus the mistakes that cause most “why is this thing wiggling?!” moments.
Let’s get it locked in.
What You’ll Need Before You Start
Before you touch a strap, grab a few things. You’ll install faster and you’ll do it right the first time.
Quick checklist
- Your Revolve360 car seat (seat + base)
- Your vehicle owner’s manual
- The car seat manual
- A clean towel (optional, only if allowed by your manual)
- A little patience (highly recommended)
The Safety Rules That Actually Matter
Car seat safety advice can get noisy. So let’s focus on what actually matters for a safe, correct install.
Here are the rules you should keep in your head the whole time:
- The seat must not move more than 1 inch side-to-side or front-to-back at the belt path.
- You must use either LATCH or the seat belt. Not both (unless your manual explicitly allows it).
- Rear-facing is safest for as long as your child fits the rear-facing limits.
- Forward-facing installation requires the top tether. Always.
- The Revolve360 must be locked into a travel position before driving.
If you remember only one thing, remember this: the seat can look perfect and still be wrong if it slides around at the belt path. That’s the test.
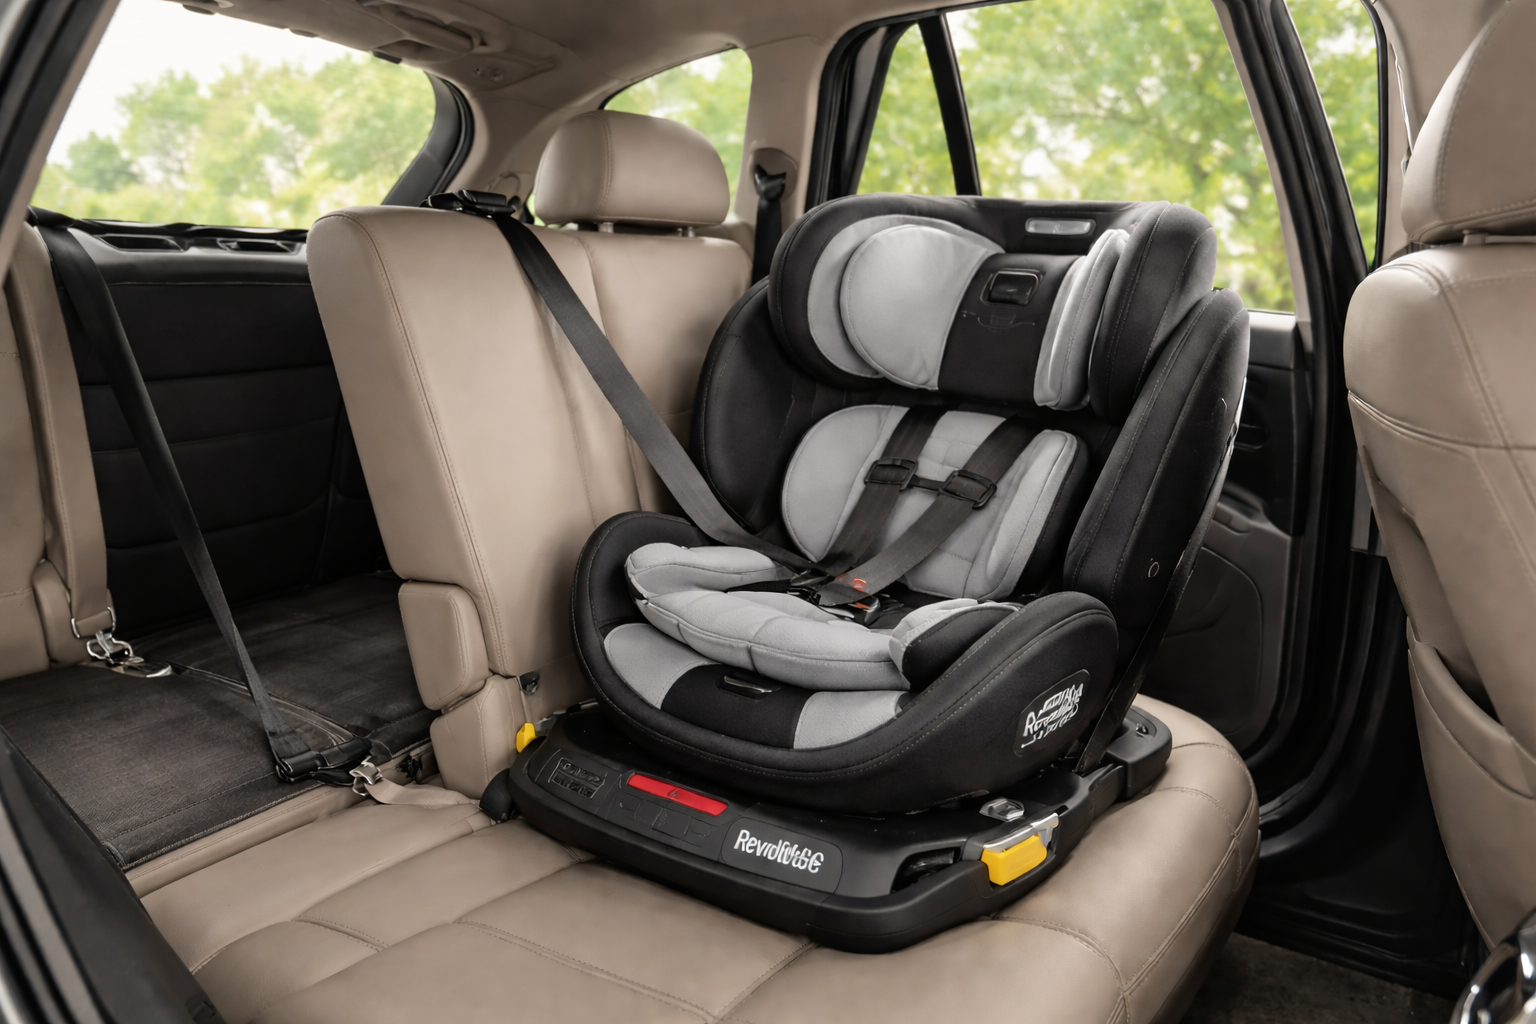
Understanding the Revolve360: The Parts You Need to Know
The Revolve360 is not complicated, but it is specific. The seat has a few features that make installation slightly different than older convertible seats.
Here’s what matters most:
Key parts (in plain English)
- Rotating base: This stays installed in the car. It’s the foundation.
- Seat shell: This is the part your child sits in.
- Rotation mechanism: Lets the seat turn toward the door for loading.
- Rear-facing belt path: Where your belt or LATCH strap routes for rear-facing.
- Forward-facing belt path: A different route for forward-facing.
- Recline settings + level indicator: Helps you get the correct angle.
- LATCH connectors: For installing without using the seat belt.
- Top tether: The strap that anchors the top of the seat in forward-facing mode.
When people struggle with how to install a Revolve360 car seat, it’s almost always because they routed the belt through the wrong path or didn’t lock the belt correctly.
Easy fix. But it’s a common one.
Choosing the Best Spot in Your Car
The “best” spot depends on your vehicle and your lifestyle. Yes, the center seat is often the safest in a crash. But only if you can get a tight install there.
Most common safe options:
- Center seat: Often safest, but sometimes harder to install.
- Behind passenger seat: Very common, easier to access.
- Behind driver seat: Works well if you’re often loading on the street side.
What I recommend in real life:
Pick the position where you can install it rock-solid and where the rotation is easy to use.
Because if it’s annoying to use, you’ll stop rotating it. And that defeats the whole point of buying a Revolve360.
Also, check one thing early: can the seat rotate fully without hitting the door, console, or seat in front? If it can’t, move it now—before you tighten anything.
Rear-Facing Installation (Step-by-Step)
Rear-facing is where most people start. It’s also where angle and tightness matter the most.
You have two installation methods:
- LATCH
- Seat belt
Both can be safe when done correctly. Pick the one that gives you the tightest install in your vehicle.
Step 1: Set the Seat for Rear-Facing Mode
Before you install, make sure the seat is configured for rear-facing. Your manual will show exactly what that looks like.
Then check the recline setting.
Rear-facing seats often need a more reclined angle for newborns and a slightly more upright angle for older babies and toddlers.
Step 2: Place the Base on the Vehicle Seat
Set the Revolve360 base flat on the seat cushion. Make sure it’s centered.
Don’t start tightening yet.
First, check:
- Is it sitting flush?
- Is the recline indicator in the correct zone?
- Is it positioned so the seat can rotate?
Step 3: Install Rear-Facing with LATCH (Lower Anchors)
If you’re using LATCH, do this slowly and deliberately.
Rear-facing LATCH steps:
- Locate your vehicle’s lower anchors.
- Connect both LATCH connectors.
- Put pressure into the base
(I like leaning my forearm into it or putting a knee on the base.) - Pull the LATCH tightening strap until it’s firm.
- Do the 1-inch test at the rear-facing belt path.
Pro tip: Tightening goes faster when you pull the strap in the direction it naturally wants to go, not sideways across the seat.
Step 4: Install Rear-Facing with the Seat Belt
Seat belt installs can be extremely secure. Sometimes even better than LATCH.
Rear-facing seat belt steps:
- Route the seat belt through the rear-facing belt path.
- Buckle it.
- Lock the belt.
Now here’s the part most people miss: locking the belt.
Your vehicle belt usually locks in one of two ways:
| Seat Belt Type | How You Lock It |
| Switchable retractor | Pull the shoulder belt all the way out, then let it retract |
| Locking latchplate | The belt locks at the buckle when tightened |
If you don’t lock the belt, the seat will slowly loosen over time. It might feel tight today and wiggly next week. That’s not what we want.
Once locked:
4. Press down on the base.
5. Pull the shoulder belt to remove slack.
6. Let the belt retract while keeping tension.
7. Test for movement at the belt path.
Step 5: Confirm Recline and Rotation Lock
Now check your recline indicator again.
Because tightening can change the angle.
Then rotate the seat and confirm it locks into a travel position. You should not be able to drive with the seat halfway turned. It needs to click into place.
At this point, you’ve completed the hardest part of learning how to install a Revolve360 car seat. Seriously. Rear-facing is the big one.
Forward-Facing Installation (Step-by-Step)
When your child is ready to forward-face (based on the seat’s limits and best safety practices), installation changes slightly.
The biggest difference?
You’ll add the top tether. And it matters a lot.
Step 1: Switch to Forward-Facing Mode
Adjust the seat to forward-facing configuration per your manual.
Then check:
- Recline setting for forward-facing
- Harness height (more on this soon)
Step 2: Install Forward-Facing with LATCH
Forward-facing LATCH steps are similar:
- Attach lower anchors.
- Apply pressure into the base.
- Tighten the strap firmly.
- Confirm less than 1 inch movement at the forward-facing belt path.
But don’t stop there.
Step 3: Install Forward-Facing with Seat Belt
Forward-facing seat belt steps:
- Route belt through the forward-facing belt path.
- Buckle.
- Lock the belt.
- Press down and remove slack.
- Confirm tightness.
Then you still need the tether.
Step 4: Attach the Top Tether (Non-Negotiable)
Find your vehicle’s tether anchor. This location varies wildly.
It might be:
- Behind the seat
- On the back of the seat
- In the trunk
- On the ceiling in some SUVs
Once found:
- Hook the tether.
- Pull it tight until snug.
You’re not trying to bend the seat. You’re trying to remove slack.
Why this matters: The tether reduces forward head movement in a crash. That’s a big deal.
If you take nothing else from the forward-facing section, take this: top tether always.
How to Adjust the Harness Correctly (So It’s Actually Safe)
A perfect install won’t help if the harness is loose.
This is where many well-meaning parents slip up.
Harness rules (simple and clear)
- Rear-facing: harness straps should come from at or below the shoulders.
- Forward-facing: harness straps should come from at or above the shoulders.
- The chest clip should sit at armpit level.
- Straps should be tight enough to pass the “pinch test.”
The pinch test
Try to pinch the harness webbing at the collarbone area.
If you can pinch fabric and lift it, it’s too loose.
If you can’t pinch it, it’s snug enough.
Also: avoid bulky jackets. They create hidden slack. It’s one of the most common safety issues, and it’s completely avoidable.
A Quick Installation Checklist (Screenshot This)
Here’s a simple checklist you can use every time you reinstall.
Revolve360 installation checklist
- Correct mode: rear-facing or forward-facing
- Correct belt path used
- Seat belt locked (if using seat belt)
- LATCH tight (if using LATCH)
- Less than 1 inch movement at belt path
- Recline indicator in correct range
- Seat rotates and locks into travel position
- Top tether attached (forward-facing)
That’s the whole game.
Common Mistakes (And How to Avoid Them)
This is the section that saves people hours.
Because most installation problems are not complicated. They’re just sneaky.
Mistake #1: Using the wrong belt path
The Revolve360 has separate rear-facing and forward-facing belt paths.
If you route the belt through the wrong one, you can still buckle it. It can still feel “tight.” But it won’t perform correctly.
Double-check before tightening.
Mistake #2: Forgetting to lock the seat belt
If you use the seat belt and don’t lock it, the belt can feed slack back over time.
Your seat will loosen gradually.
Lock it every time.
Mistake #3: Checking movement in the wrong place
You only test movement at the belt path.
If you grab the top of the seat and yank, it will move. That’s normal.
The belt path is where it must be secure.
Mistake #4: Not using the tether forward-facing
This is one of the most important steps. And it’s also the most skipped.
Use it. Every time.
Mistake #5: Seat angle is wrong for a small baby
Too upright can cause head slump.
Too reclined can reduce stability.
Use the level indicator. It exists for a reason.
Troubleshooting: When Something Feels Off
Even when you follow the steps, you might run into a weird issue. Vehicles vary. Seat cushions vary. Seat belt geometry varies.
Here’s how to solve the most common problems.
Problem 1: “I can’t get it tight enough”
Try this:
- Put more body weight into the base while tightening.
- Pull the strap or belt in the correct direction.
- Check for twists in the belt or LATCH strap.
- Start over and go slower.
Sometimes one twist is all it takes to ruin the tension.
Problem 2: “The base leans to one side”
Try this:
- Re-center the base before tightening.
- Apply even pressure while tightening.
- Make sure the belt is lying flat.
Problem 3: “The recline level changes after tightening”
That’s common.
Fix it by:
- Adjusting recline first.
- Tightening slowly.
- Checking the indicator again after the install is tight.
Problem 4: “The seat rotates but feels loose”
Rotation doesn’t mean the install is loose. But if it feels unstable:
- Check tightness at the belt path.
- Confirm it’s locked into a travel position.
- Confirm the base is properly seated on the vehicle cushion.
If you’re learning how to install a Revolve360 car seat, this is one of the most confusing feelings at first—because rotation makes the seat feel “different” than a fixed model.
Daily Use Tips That Make the Revolve360 Worth It
Once installed, the Revolve360 is at its best when you use it the way it was designed.
My favorite practical tips:
- Rotate outward before buckling. Every time. It saves your back.
- Keep the harness straps flat and untwisted.
- Re-check tightness every couple of weeks.
- After a road trip, check again.
- Keep crumbs out of the rotation area (they can interfere with smooth turning).
And yes. I’m speaking from experience. Crackers have no respect for engineering.
When to Get Help (And Where to Go)
Sometimes you do everything right and still can’t get a stable install. That doesn’t mean you failed. It means your vehicle and seat are having a compatibility moment.
The best resource is a Certified Child Passenger Safety Technician (CPST).
They can:
- Check your belt routing
- Confirm your recline angle
- Help you troubleshoot tether anchor locations
- Verify your install is safe and secure
Just a quick note: many fire stations no longer do car seat checks. Some do. Many don’t. It’s worth calling ahead rather than showing up stressed with a car seat and a baby.
Final Thoughts: You’ve Got This
Learning how to install a Revolve360 car seat is one of those things that feels intimidating for about 20 minutes… and then suddenly it clicks.
Literally.
Once you understand the correct belt path, how to lock your seat belt, and how to test movement at the belt path, you’re in control. And that’s the goal.
Because the best car seat isn’t the fanciest one.
It’s the one installed correctly, every single time, with a confident adult behind it.
Now go do your install. Rotate that seat like a pro. And enjoy the fact that you’ll never have to wrestle a toddler into a fixed seat at a weird angle again!
Frequently Asked Questions
Most installs take 10–25 minutes the first time, and 5–10 minutes once you’ve done it before.
Use whichever gives you the tightest install with less than 1 inch of movement at the belt path.
Grab the seat at the belt path and tug—if it moves less than 1 inch side-to-side, it’s secure.
Yes, if you’re using the seat belt, it must be locked so it doesn’t loosen over time.
It’s the designated belt route labeled for rear-facing in the seat base area—always confirm in your manual.
No, you should use one method only unless your manual specifically says otherwise.
Yes, the top tether is required for forward-facing installation and helps reduce forward movement in a crash.
Reposition the base and adjust recline before tightening, and only use leveling support if your manual allows it.
Yes, as long as you can get a tight install and your vehicle allows safe belt or anchor placement there.
Rotation changes the feel, but as long as the base is tight at the belt path and locks in travel position, it’s safe.