Installing a car seat correctly is one of those parenting tasks that feels simple on the surface but carries serious responsibility. I’ve installed more than my fair share of car seats over the years, and I can tell you this: learning how to put in a Joie 360 car seat properly is worth the extra time and attention. This guide walks you through the process clearly, calmly, and step by step—no guessing, no rushing, and no unnecessary panic.
The Joie 360 car seat is popular for a reason. Its rotating design makes daily use easier, especially during those awkward in-and-out moments. But rotation doesn’t replace correct installation. If anything, it makes precision even more important.
Let’s get into it.
What Is the Joie 360 Car Seat?
The Joie 360 car seat is a rotating, ISOFIX-compatible convertible car seat designed to support children from infancy through toddlerhood. Depending on the specific model, it typically supports:
- Rear-facing from birth up to around 18–22 kg
- Forward-facing from roughly 9 kg and up (depending on local safety regulations)
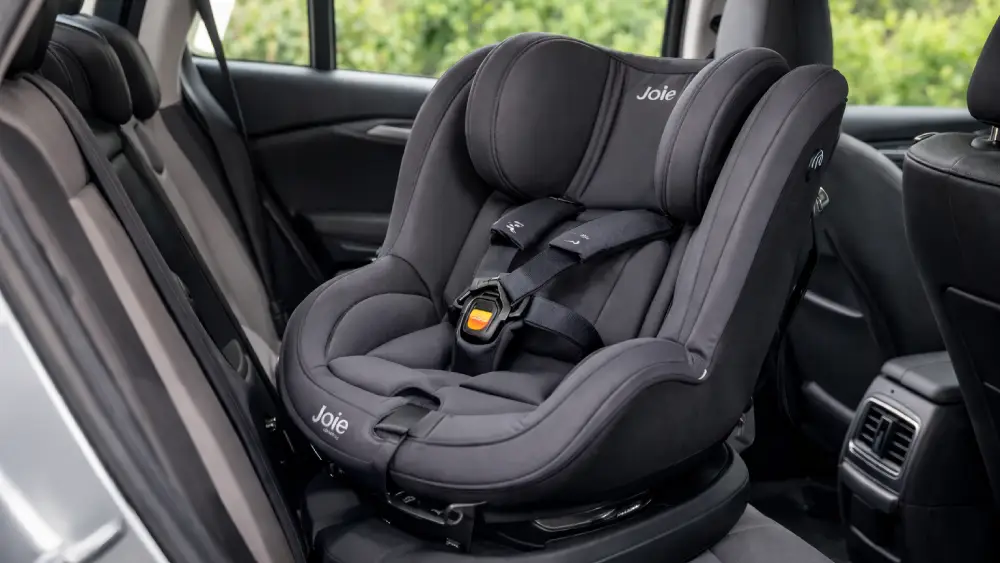
The defining feature is the 360-degree rotation. With a simple lever, the seat turns toward the door, allowing you to place or remove your child without twisting your back or wrestling with straps.
Other notable features include side-impact protection, a five-point harness, a height-adjustable headrest, and a mandatory support leg. All of these elements work together—but only if the seat is installed correctly.
Before You Start: Essential Safety Checks
Before learning how to put in a Joie 360 car seat, pause and prepare. This step matters more than most people realize.
First, read the instruction manual specific to your Joie model. Small differences exist between versions, and skipping this can lead to subtle but critical mistakes.
Next, check your vehicle. You’ll need ISOFIX anchor points, which are standard in most modern cars but not universal. They’re usually located between the seat cushion and seatback in the rear seats.
Also decide how you’ll be using the seat:
- Rear-facing (recommended as long as possible)
- Forward-facing (only once your child meets minimum age, weight, and height requirements)
Finally, make sure you’re installing the seat in an approved seating position. The back seat is safest. The front seat is rarely recommended, especially with active airbags.
Understanding the Parts of the Joie 360 Car Seat
Knowing what you’re working with makes installation far easier.
Key components include:
- ISOFIX connectors: Metal arms that attach to your car’s anchor points
- Support leg: A telescoping leg that rests on the vehicle floor for stability
- Rotation base: Allows the seat to swivel when not locked in travel mode
- Harness system: Five-point safety harness for your child
- Recline adjuster: Ensures the correct angle for rear- or forward-facing use
Take a moment to familiarize yourself with these parts before installation. It saves frustration later.
How to Put in a Joie 360 Car Seat (Rear-Facing Installation)
Rear-facing installation is where most parents start—and where safety benefits are greatest.
Step-by-Step Rear-Facing Installation
- Place the Joie 360 car seat on the rear vehicle seat, aligned with the ISOFIX points.
- Extend the ISOFIX connectors from the base.
- Push each connector firmly into the vehicle’s anchor points until you hear a click.
- Check the indicators. Green means locked correctly. Red means try again.
- Extend the support leg until it rests firmly on the vehicle floor.
- Adjust the leg until the indicator confirms proper contact.
- Set the recline angle to the approved rear-facing position.
Once installed, grab the seat at the base and attempt to move it. If it shifts more than an inch side to side, something isn’t secure.
This is a critical step in how to put in a Joie 360 car seat safely.
How to Put in a Joie 360 Car Seat (Forward-Facing Installation)
Forward-facing installation uses the same anchoring system but with different orientation and recline.
Only switch to forward-facing if your child meets the minimum requirements outlined by Joie and your local safety authority.
Forward-Facing Installation Process
- Rotate the seat into the forward-facing position
- Confirm the recline setting matches forward-facing guidelines
- Re-check ISOFIX and support leg indicators
- Ensure the seat locks firmly into travel position
Never allow the seat to remain rotated sideways while driving. The rotation feature is for loading only.
Securing Your Child Correctly
Installing the seat is only half the job. Securing your child properly matters just as much.
Here’s what I always double-check:
- Harness straps lie flat with no twists
- Harness height aligns with your child’s shoulders
- Chest clip sits at armpit level
- Harness is snug—you shouldn’t pinch excess webbing
A loose harness reduces the effectiveness of the entire system, no matter how well you’ve mastered how to put in a Joie 360 car seat.
Using the 360-Degree Rotation Feature Safely
The rotation feature is incredibly useful, but it must be used correctly.
Rotate the seat only when the vehicle is stationary. Load your child. Buckle them in. Then rotate the seat back until it clicks into its locked travel position.
If the seat doesn’t lock, do not drive.
Simple rule: rotation is a convenience feature, not a travel mode.
Common Installation Mistakes (and How to Avoid Them)
I see the same errors over and over.
The most common include:
- ISOFIX connectors not fully clicked in
- Support leg hovering above the floor
- Incorrect recline angle
- Switching to forward-facing too early
Avoid these by slowing down and checking indicators every single time you reinstall or move the seat.
How to Confirm the Seat Is Installed Correctly
After installation, run through this checklist:
- All indicators show green
- Seat moves less than one inch at the base
- Support leg is firmly planted
- Seat locks into forward or rear-facing position
If you’re unsure, many fire stations, hospitals, and child safety centers offer car seat inspections. There’s no shame in asking for confirmation.
Daily Use and Maintenance Tips
Over time, you’ll need to adjust the seat as your child grows.
Keep these tips in mind:
- Re-adjust harness height regularly
- Clean covers according to manufacturer instructions
- Never use harsh cleaners on harness straps
- Replace the seat after any moderate or severe crash
Car seats aren’t lifetime products. Follow expiration dates carefully.
Final Thoughts
Learning how to put in a Joie 360 car seat isn’t about memorizing steps—it’s about understanding why each step matters. When installed correctly, this seat offers excellent protection, convenience, and peace of mind.
Take your time. Double-check your work. Trust the process.
You’re not just installing a car seat. You’re building a safer ride for your child—every single trip.
Frequently Asked Questions
Once familiar, installing a Joie 360 usually takes 10–15 minutes using ISOFIX and the support leg.
Yes, ISOFIX is required since the Joie 360 car seat is not designed for seat belt installation.
Absolutely—the support leg prevents forward rotation in a crash and is essential for safety.
You can use it in most vehicles with ISOFIX anchor points and a compatible rear seating position.
Check that all indicators are green and the seat moves less than one inch at the base.
Only switch once your child meets the minimum age, height, and weight requirements stated by Joie.
No, the seat locks into a fixed position and should never be rotated while the vehicle is moving.
The harness should be snug enough that you cannot pinch excess material at the shoulders.
Yes, but you must fully reinstall it each time and recheck all safety indicators.
If you’re unsure, a certified car seat technician can confirm you’ve installed it correctly.