Installing a rotating car seat correctly is essential for your child’s safety and for the seat to function as designed. The Graco 360 car seat offers convenience with its swivel feature, but that convenience only works when the installation is done properly. Learning how to install a Graco 360 car seat ensures the base is secure, the recline is correct, and the seat locks firmly before every drive.
This guide walks you through the installation process step by step, whether you’re installing it rear-facing or forward-facing.
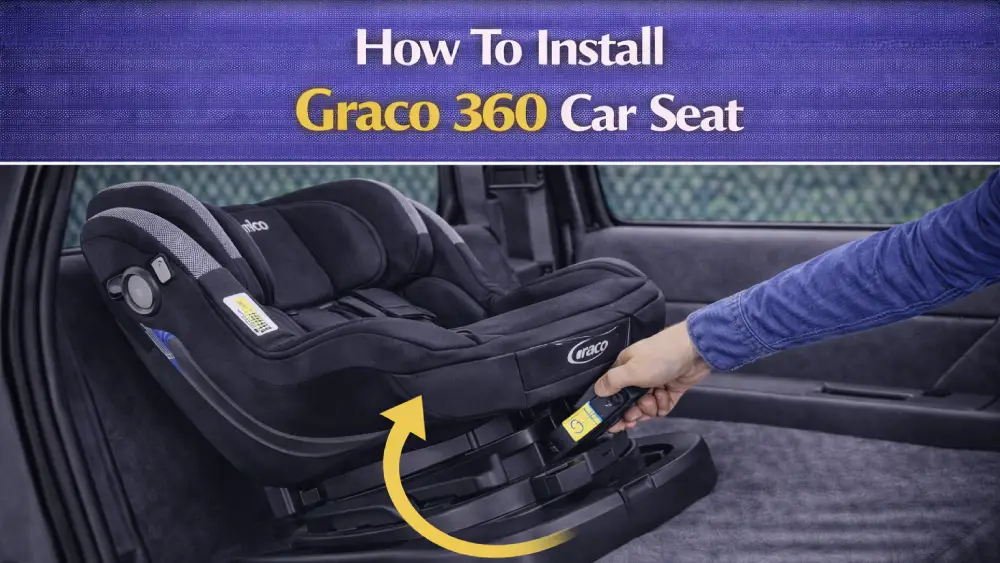
Understanding the Graco 360 Car Seat
Graco 360 car seats are rotating convertible car seats. They stay installed in the vehicle while allowing the seat to rotate toward the door for easier loading.
Key features include:
- Rear-facing and forward-facing harness modes
- 360-degree rotation for access
- Built-in recline positions
- Locking travel positions for safety
Rotation is for loading. Locking is for driving.
Before Installing the Graco 360 Car Seat
Preparation prevents mistakes.
Before you begin:
- Read the Graco manual and your vehicle owner’s manual
- Park the vehicle on level ground
- Choose a rear seating position
- Decide whether to install using LATCH or a seat belt
- Confirm your child meets rear-facing requirements
Never use LATCH and a seat belt at the same time unless the manual specifically allows it.
How To Install a Graco 360 Car Seat Rear-Facing
Rear-facing is the safest option for infants and young toddlers.
Step 1: Position the seat
Place the Graco 360 on the vehicle seat facing the rear of the car. Make sure the base sits flat and centered.
Step 2: Adjust the recline
Use the recline handle on the base to set the correct rear-facing angle. Check the recline or level indicator to ensure it’s within the approved range.
Step 3: Install using LATCH
- Extend the lower anchor connectors
- Attach them to the vehicle’s lower anchors
- Push down firmly on the seat
- Pull the adjustment strap until movement at the belt path is less than one inch
Step 4: Install using a seat belt
If using a seat belt:
- Route the belt through the rear-facing belt path
- Buckle the belt
- Lock the belt according to your vehicle instructions
- Apply downward pressure while tightening
Use only one installation method.
Step 5: Lock the rotation
Rotate the seat back into the rear-facing travel position until you hear or feel it lock.
How To Install a Graco 360 Car Seat Forward-Facing
Forward-facing should only be used once your child meets Graco’s requirements.
Step 1: Rotate the seat forward
Pull the rotation handle and turn the seat to face the front of the vehicle.
Step 2: Adjust recline
Set the seat to the approved forward-facing recline position.
Step 3: Secure the seat
Install using LATCH or a seat belt through the forward-facing belt path. Tighten until the seat is firmly secured.
Step 4: Attach the top tether
Connect the top tether to your vehicle’s tether anchor and pull it tight. This step is required for forward-facing use.
Step 5: Lock the rotation
Rotate the seat until it clicks into the forward-facing travel position.
How To Check If Installation Is Correct
Before driving:
- The seat moves less than one inch at the belt path
- Recline indicator shows the correct position
- Rotation locks securely
- Harness fits snugly
- Chest clip sits at armpit level
If anything feels loose or off, reinstall before driving.
Common Installation Mistakes to Avoid
These issues happen often:
- Using LATCH and seat belt together
- Forgetting the top tether forward-facing
- Ignoring the recline indicator
- Driving with the seat unlocked
- Checking movement at the headrest instead of the belt path
Avoiding these mistakes improves safety.
Final Thoughts
Learning how to install a Graco 360 car seat properly ensures your child rides safely while you enjoy the convenience of rotation. Once installed tightly, reclined correctly, and locked into a travel position, daily use becomes easier and more secure.
Take your time. Follow each step carefully. Lock the seat before every drive. Those habits make every trip safer.
Frequently Asked Questions
Yes, Graco 360 car seats can be installed using either LATCH or a seat belt, depending on the model.
Yes, rear-facing is required until your child meets Graco’s forward-facing minimums.
The seat should move less than one inch at the belt path when properly installed.
Yes, the top tether must always be used when the seat is forward-facing.
No, the seat must be locked in a travel position before driving.
Check the built-in recline or level indicator to confirm it’s within the approved range.
Yes, if your vehicle allows proper installation in that seating position.
Some models require reinstallation; follow your specific Graco manual.
Yes, bulky clothing can interfere with proper harness snugness and should be avoided.
Recheck after adjustments, cleaning, or periodically to ensure continued safety.