Installing a car seat correctly is one of the most important safety tasks a parent will do. The Evenflo 360 car seat adds convenience with its rotating feature, but that same convenience must be backed by a secure installation. Knowing how to install a Evenflo 360 car seat helps you take the guesswork out of setup and ensures the seat works exactly as intended every ride.
Many parents think installation is a one-time job. It isn’t. As your child grows and you switch modes, proper installation becomes even more important. This guide breaks down each step clearly so you can install with confidence.
Let’s begin.
Understanding the Evenflo 360 Car Seat
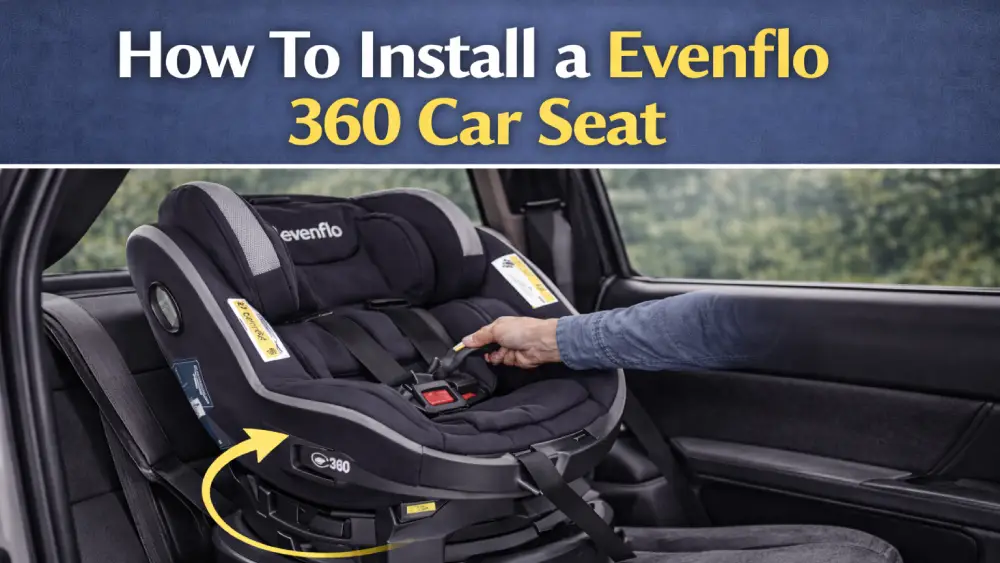
The Evenflo 360 is a rotating child safety seat designed to stay installed in your vehicle. Once installed, the seat rotates for easier loading and unloading but locks into place for travel.
Most Evenflo 360 models:
- Support rear-facing and forward-facing use
- Install via LATCH or seat belt (not both)
- Include recline and level indicators
- Use a locking rotation mechanism
Proper installation allows these features to work as intended.
Before You Install
Preparation prevents mistakes.
Before setup:
- Read both the Evenflo manual and your vehicle owner’s manual
- Park on level ground
- Choose a rear seating position
- Decide whether to use LATCH or a seat belt
- Confirm your child meets rear-facing requirements
Never use LATCH and a seat belt at the same time unless the manual explicitly allows it.
How To Install a Evenflo 360 Car Seat (Rear-Facing)
Rear-facing provides the best protection for infants and toddlers.
Step 1: Position the seat
Place the Evenflo 360 on the vehicle seat facing the rear of the car. Ensure the base sits flat and centered.
Step 2: Set the recline
Use the recline adjustment handle at the base. Adjust until the recline indicator is within the approved rear-facing range.
Step 3: Install using LATCH
- Extend both lower anchor connectors
- Attach them to the vehicle’s lower anchors
- Press down firmly on the seat
- Tighten until there is less than one inch of movement
Step 4: Install using a seat belt
- Route the seat belt through the rear-facing belt path
- Buckle the belt
- Lock the belt using your vehicle’s instructions
- Apply pressure and remove slack
Both methods should result in minimal movement at the belt path.
Step 5: Lock the rotation
Rotate the seat until it clicks securely into the rear-facing travel position.
How To Install a Evenflo 360 Car Seat (Forward-Facing)
Forward-facing installation is done when your child meets the rear-facing limits.
Step 1: Switch modes
Adjust the seat to forward-facing according to the instructions. Set the recline to the approved forward-facing position.
Step 2: Install using LATCH or seat belt
Attach the lower anchors or route the seat belt through the forward-facing belt path and tighten until secure.
Step 3: Attach the top tether
Connect the top tether to the vehicle’s tether anchor and pull tight. The top tether is required in forward-facing mode.
Step 4: Lock the rotation
Turn the seat until it clicks into the forward-facing travel position.
How To Know the Seat Is Installed Correctly
Before driving:
- The seat moves less than one inch at the belt path
- Recline indicator is within range
- Rotation locks securely
- Harness fits snugly
- Chest clip sits at armpit level
If something feels off, recheck before driving.
Common Installation Mistakes to Avoid
These issues happen frequently:
- Using LATCH and seat belt together
- Ignoring recline or level indicators
- Forgetting the top tether on forward-facing
- Driving with the seat unlocked
- Assuming tight always means correct
Double-checking takes seconds and improves safety.
Final Thoughts
Learning how to install a Evenflo 360 car seat correctly makes every ride safer and more reliable. Once the seat is positioned, reclined, and locked, daily use becomes simple and dependable.
Take your time with each step. Confirm the locks before every drive. That careful attention ensures your child’s seat performs exactly as it should.
Frequently Asked Questions
Yes, you can use either LATCH or a seat belt, but never both at the same time.
The seat should move less than one inch side-to-side or front-to-back at the belt path.
Yes, children should always ride rear-facing until they reach the manufacturer’s height and weight limits.
The recline indicator is built into the base of the seat and shows approved angle ranges.
Yes, the top tether is required for all forward-facing installations.
No, the seat must be locked in a travel position before driving.
Yes, recline should be adjusted before final tightening and rechecked afterward.
Yes, if your vehicle allows proper installation in the center seating position.
Yes, the seat must be fully reinstalled and checked in each vehicle.
Recheck after adjustments, cleaning, vehicle changes, or periodically for safety.